Set Up Your Printer in Minutes
Start by powering on your printer and keeping it nearby.
Select Printer Setup to continue with an easy step-by-step process designed to help you connect, configure, and finish setting up your printer smoothly.
Continue to Printer Setup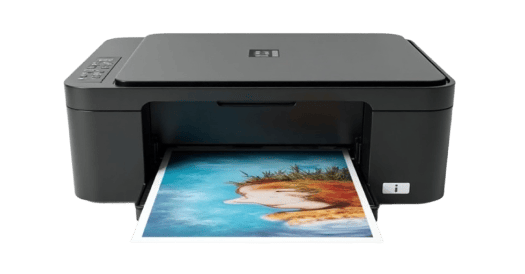
Printer Setup
Issues
Printer Offline
Issues
WiFi Connection
Errors
Paper Jam
Errors
Print Jobs Stuck
in Queue
Scanner
Malfunctions
Simple Printer Setup in a Few Easy Steps
Use our guided setup process to quickly get your printer ready for use. Whether you’re setting up a new device or reconnecting an existing one, these step-by-step instructions will help you connect, configure, and verify your printer smoothly.

• Printer setup doesn’t need to be difficult. Use this step-by-step guide to install, connect, and configure your printer correctly. Each step includes clear visual instructions and helpful tips to ensure a smooth and successful setup.
Step 1: Unpack and Prepare Your Printer
- Carefully remove the printer from the box along with all included accessories such as power cables, ink or toner cartridges, manuals, and setup guides.
- Check the box contents to ensure nothing is missing or damaged before proceeding with the installation.
- Remove all protective tapes, plastic covers, cardboard inserts, and packaging materials from both the outside and inside of the printer.
- Place the printer on a flat, stable surface near your computer or close to your Wi-Fi router for better wireless connectivity.
- Connect the power cable securely and turn the printer on using the power button.
- Wait until the printer completes its initial startup sequence, which may include internal checks or alignment processes.
If the printer does not power on, verify that the power cable is firmly connected and plugged directly into a wall outlet. Avoid using extension cords or surge protectors during the initial setup.
Step 2: Download the Latest Printer Software
- Open your web browser and navigate to the official printer support or driver download page.
- Enter your printer model number carefully to locate the correct software for your device.
- Select your operating system such as Windows, macOS, or Linux to ensure compatibility.
- Download the most recent printer driver and setup utility to your computer.
- Save the file to an easily accessible location, such as your desktop or downloads folder.
If the download fails or stops unexpectedly, check your internet connection and temporarily disable firewall or antivirus software that may be blocking the download.
Step 3: Connect Your Printer to the Device
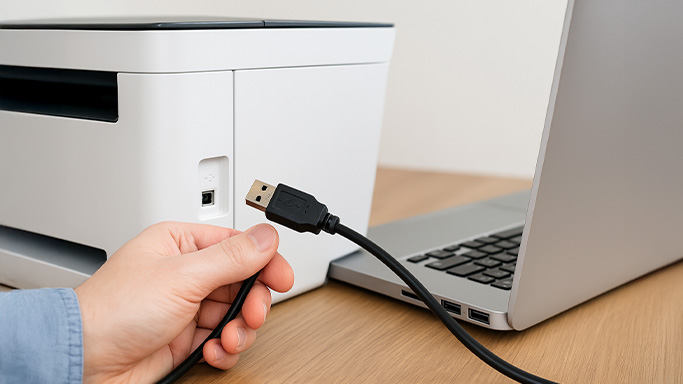
Option A – USB Connection
- Use a USB cable to connect the printer directly to your computer.
- Ensure the cable is securely plugged into both the printer and the computer.
- Wait while your operating system automatically detects the printer hardware.
Option B – Wireless Connection
- Access the Wi-Fi or Network Setup option from the printer’s control panel.
- Select your home or office wireless network from the available list.
- Enter the Wi-Fi password carefully and confirm the connection.
- Wait for the printer to indicate a successful network connection.
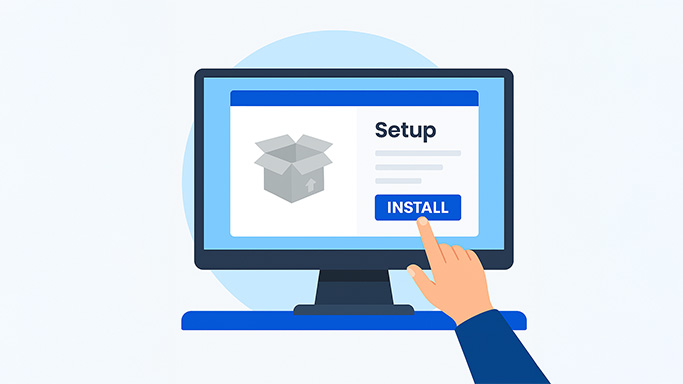
Step 4: Install and Configure Printer Drivers
- Double-click the downloaded setup file to begin the installation process.
- Follow the on-screen instructions carefully and accept the license agreement.
- Select your preferred connection method when prompted by the installer.
- Allow the software to detect and configure the printer automatically.
- Complete the installation and restart your system if required.
If the installer cannot find the printer, reconnect the cable, restart the printer, or temporarily disable background security software during installation.
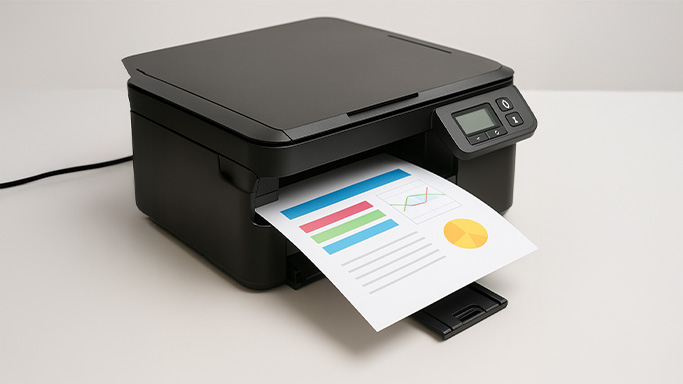
Step 5: Print a Test Page
- Open your computer’s printer settings or control panel.
- Select the newly installed printer from the list of available devices.
- Click on the option to print a test page.
- Verify that the page prints correctly without errors or alignment issues.
If the test page does not print, ensure the printer is online, loaded with paper, and that ink or toner cartridges are properly installed.
Step 6: Set Default Printer Preferences
- Open the Printers & Scanners section from your system settings.
- Set the newly installed printer as your default printing device.
- Adjust preferences such as paper size, print quality, color options, and orientation.
- Save your settings to ensure consistent printing results in the future.
Troubleshooting Guide — When Printer Setup Does Not Complete
If your printer fails to install, connect, or respond during setup, follow the troubleshooting steps below carefully. These actions are designed to resolve the most common hardware, software, and connection issues encountered during printer installation.
1. Restart and Reconnect All Devices
- Disconnect the printer from your computer or wireless network.
- Power off both the printer and the computer completely.
- Wait at least 60 seconds to clear temporary memory.
- Turn both devices back on and reconnect the printer.
- Rerun the printer installation or setup utility.
2. Verify USB Ports and Connection Cables
- Unplug the USB cable and connect it to a different USB port on your computer.
- Use a certified or original USB cable to avoid connection issues.
- Avoid USB hubs, extension cables, or docking stations during setup.
- If possible, test the cable with another device to confirm it is working.
3. Perform a Full Power Reset
- Turn off the printer using the power button.
- Disconnect the power cable from the printer and the wall outlet.
- Wait for at least 60–90 seconds to discharge residual power.
- Reconnect the printer directly to a wall outlet and turn it back on.
- Retry the printer setup after the printer becomes ready.
4. Remove Conflicting or Old Printer Drivers
- Open Control Panel → Programs and Features.
- Locate and uninstall any previously installed printer software or drivers.
- Remove entries related to older printer models if present.
- Restart your computer to apply the changes.
- Install the latest printer software again.
5. Clear Temporary Files and Cached Data
- Open Disk Cleanup from the Windows search bar.
- Select your system drive (usually C:).
- Check temporary files, setup files, and system cache options.
- Click OK to remove unnecessary files.
6. Perform a Clean Boot (Windows Systems)
- Press Win + R, type msconfig, and press Enter.
- Under the General tab, select Selective Startup.
- Uncheck Load startup items.
- Go to the Services tab, check Hide all Microsoft services, then click Disable all.
- Restart your system and retry the printer installation.
7. Update Printer Drivers Using Device Manager
- Open Device Manager from the Start menu.
- Expand Printers or Universal Serial Bus controllers.
- Right-click the printer device and select Update driver.
- Choose Search automatically for updated driver software.
Need Additional Assistance? Speak with a Live Support Expert
If your printer issue hasn’t been resolved after following the setup and troubleshooting steps above, our experienced support specialists are available to assist you. Connect with a live expert for step-by-step guidance, advanced troubleshooting, and personalized solutions to help restore your printer’s functionality quickly and efficiently.
Start Live Chat Support